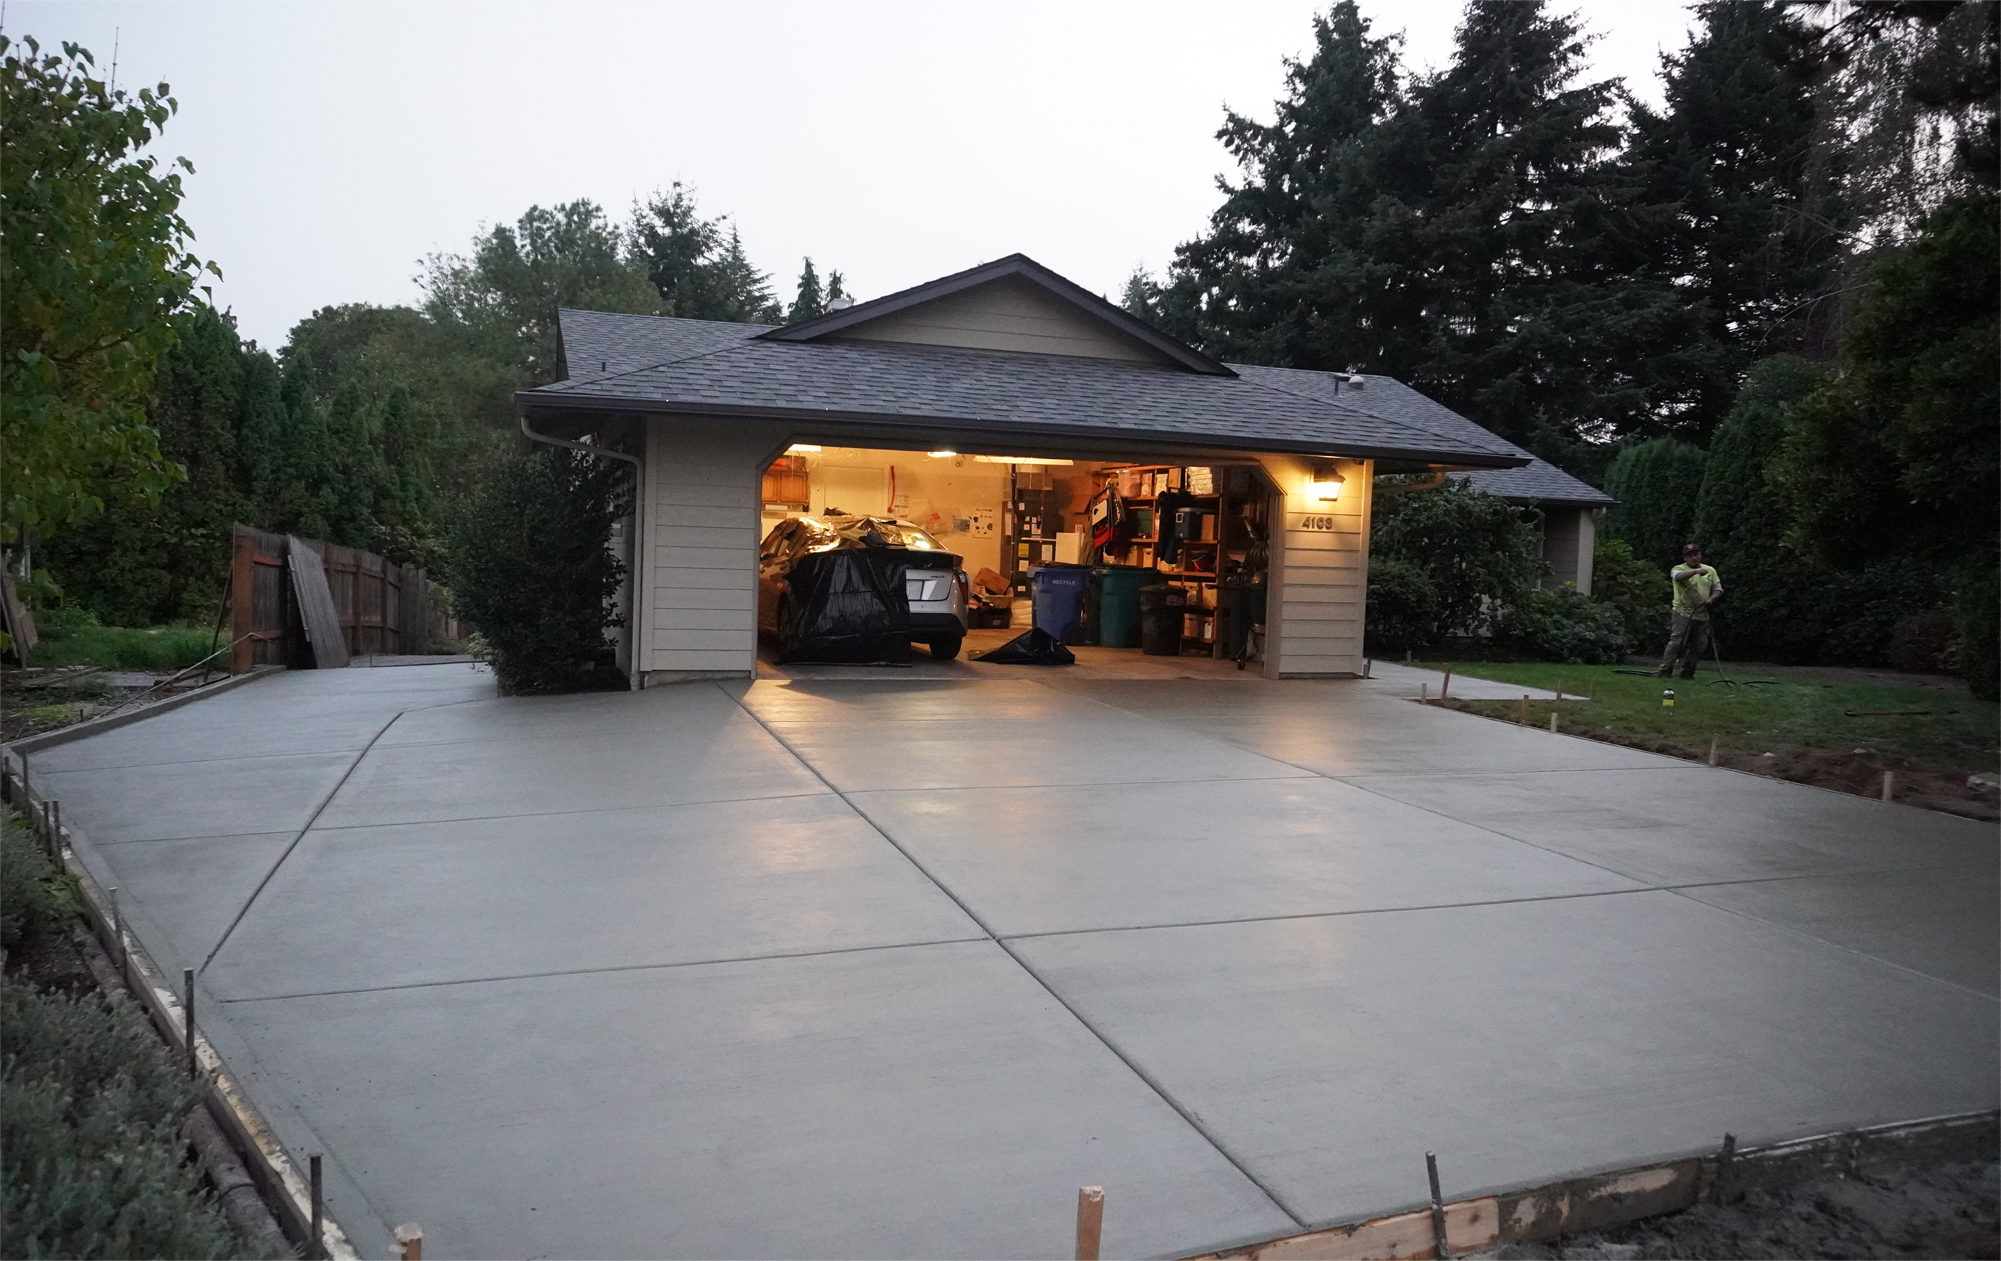
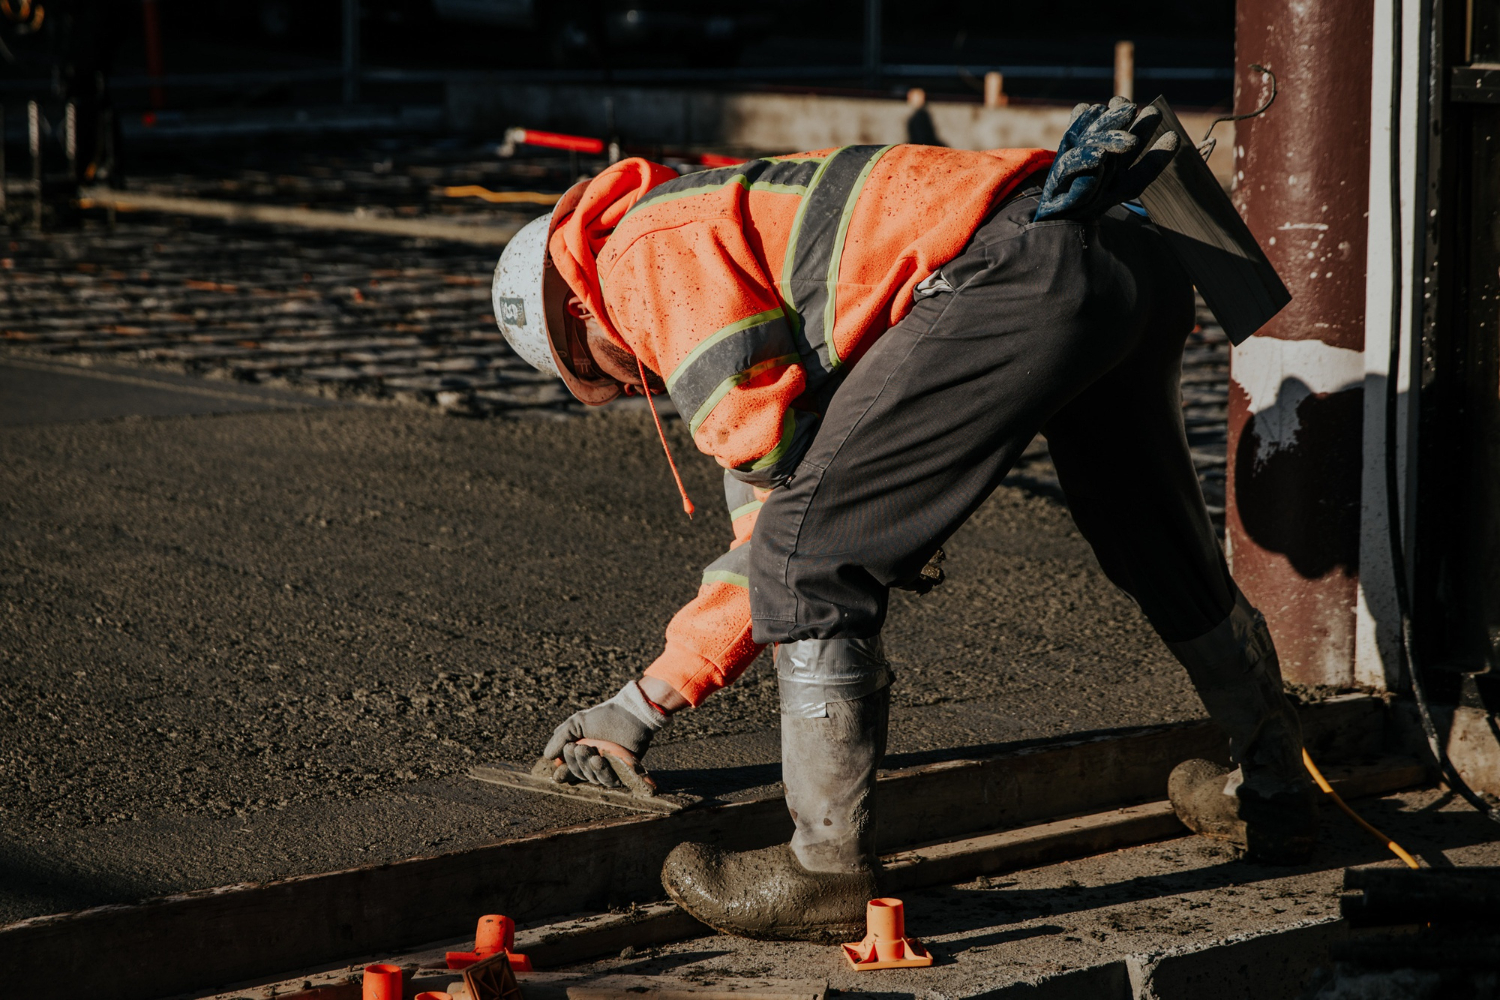
The process of pouring a concrete slab is a major undertaking in a lot of outdoor projects. The decision to install which type of concrete slab, like that for a patio, driveway, or even a shed, proper preparation of the yard will make a world of difference. The following step-by-step guide will break it down into simple terms for you to understand. Also, if professional assistance is required, a concrete contractor hire or an experienced concrete walkway contractor will deliver a smoother and more precise job.
Let us first talk about what concrete slabs are and why preparation is very important.
What Is a Concrete Slab?
A concrete slab is a horizontal and strong surface made of concrete. It is a surface for outdoor living areas like patios, concrete for gardens, garages or walkways. A slab properly prepared is very enduring and can bear heavy loads. The secret is the right ground preparation. Poor preparation results in cracks, uneven surfaces, and problems in the future.
This guide will show you the way to the yard for a concrete slab in simple steps.
Step 1: Select the Suitable Spot
The first thing to do is to select the spot where you want the slab. Consider these points:
- Your usage of the slab
- Availability of land
- The wetness of the ground in that area
Water should not be allowed to collect on the slab side, as it can cause the concrete to become weak. Good drainage is very important. If you are not sure, consult with concrete walkway contractors who have a lot of experience; they can help you choose the best spot in the yard.
Step 2: Mark the Area
After the site selection, use string and stakes to mark the slab area. It will be a clearer indication of the exact shape and size. Spray paint or wood stakes can be used to delineate the area.
Check that the area is square or matches the shape you desire. Measuring twice and cutting once saves errors that would otherwise occur later in the process.
Step 3: Remove Grass and topsoil
Once marking is done, cut the grass, plants, and topsoil inside the area indicated with marks. A flat and sturdy base is required. A spade can be used to carry out the digging down to the needed depth, which is typically between 6 and 8 inches.
Try to keep the soil level at least slightly uniform. This stage is labor-intensive but it is necessary. The concrete slab will be unstable if the ground is not levelled.
Step 4: Compact the Base
Compacting the ground not only makes it harder but also ensures that there will be no settling of the slab. A hand tamper can be used, or a mechanical plate compactor can be utilised. The compactor should be moved in every direction to pack the soil down.
A properly compacted base will not develop cracks. Omitting this step, however, can result in the shifting or cracking of the slab at a later date.
Step 5: Add Gravel or Stone Base
A layer of gravel or crushed stone is to be added next. This base not only aids in drainage but also reinforces the concrete slab with extra support. Spread 3 to 4 inches of gravel uniformly over the area.
Compact the gravel after spreading it. A robust base allows your concrete slab to endure heavy use for a longer period of time.
Step 6: Install Form Boards
Form boards are timber or metal boards that will keep the concrete in place until it is cured. Set the form boards on the perimeter of the area and fix them with stakes.
Verify the boards’ levelness. Take advantage of a spirit level or laser level to ensure they are even and smooth. The boards will dictate the slab’s final contour.
Step 7: Add Reinforcement
Concrete is strong, but adding steel reinforcement makes it stronger. Contractors often use rebar or wire mesh inside the form.
Reinforcement stops cracks from spreading and helps the slab carry heavy loads. Experienced concrete contractor company teams know how to place reinforcement properly.
Step 8: Prepare for Concrete Pouring
Before pouring the concrete, make sure:
- The base is level and swept clean
- Reinforcement is in place
- Form boards are secure
- Tools and materials are ready
This prevents delays during pouring.
Step 9: Pour the Concrete
Pouring concrete is best done with help. Mix the concrete according to instructions or have ready-mix delivered. Start at one end and fill the area slowly.
Use a shovel or rake to spread the concrete evenly. If you are unsure about mixing or pouring, professional concrete walkway contractors can handle this step.
Step 10: Level and Smooth the Surface
Once the concrete is in the form, use a screed board to level the surface. Pull the board across the top of the form to remove extra concrete.
After screeding, use a trowel to smooth the surface. This step creates a clean, flat finish. If you want patterns or texture on the surface, you can do this now.
Step 11: Cure the Concrete
Curing means letting the concrete dry and strengthen. Cover the slab with plastic sheets or curing compound to retain moisture. The curing process can take 3 to 7 days or more.
Do not walk on or place heavy objects on the slab until it is fully cured.
Step 12: Remove Forms
After the concrete has set, carefully remove the form boards. Check the edges and smooth any rough parts.
Your slab should now be ready for use or for the next step of your project.
Why Professional Help Matters
Preparing a yard for a concrete slab is work that requires planning, precision, and strength. Even if you want to try DIY, getting help from a concrete contractor company has key advantages:
- They understand soil conditions
- They know the correct measurements
- They have tools and expertise
- They prevent costly mistakes
For walkways, hiring experienced concrete walkway contractors ensures a smooth, long-lasting finish.
Final words
Preparing your yard for a concrete slab may seem like a big task, but with the right steps, it becomes manageable. Whether you do it yourself or work with professionals, good preparation leads to strong, long-lasting concrete.
Get your concrete project done right from the ground up with expert support from Xcelent Concrete Services.
Frequently Asked Questions (FAQ)
Q: How long does a concrete slab last?
A: A well-prepared concrete slab can last 20 years or more with proper care.
Q: Do I need permits to pour a concrete slab?
A: Some cities require permits for slabs over a certain size. Check local rules before starting.
Q: Can I pour concrete over grass?
A: No. You must remove grass and topsoil to ensure a strong base before pouring concrete.
Q: What tools do I need for this project?
A: You need a shovel, compactor, form boards, level, screed board, and trowel. Professional contractors have these tools ready.
Q: When should I call professionals?
A: If you are unsure about levelling, pouring, or reinforcement, calling a concrete contractor company is a good idea.