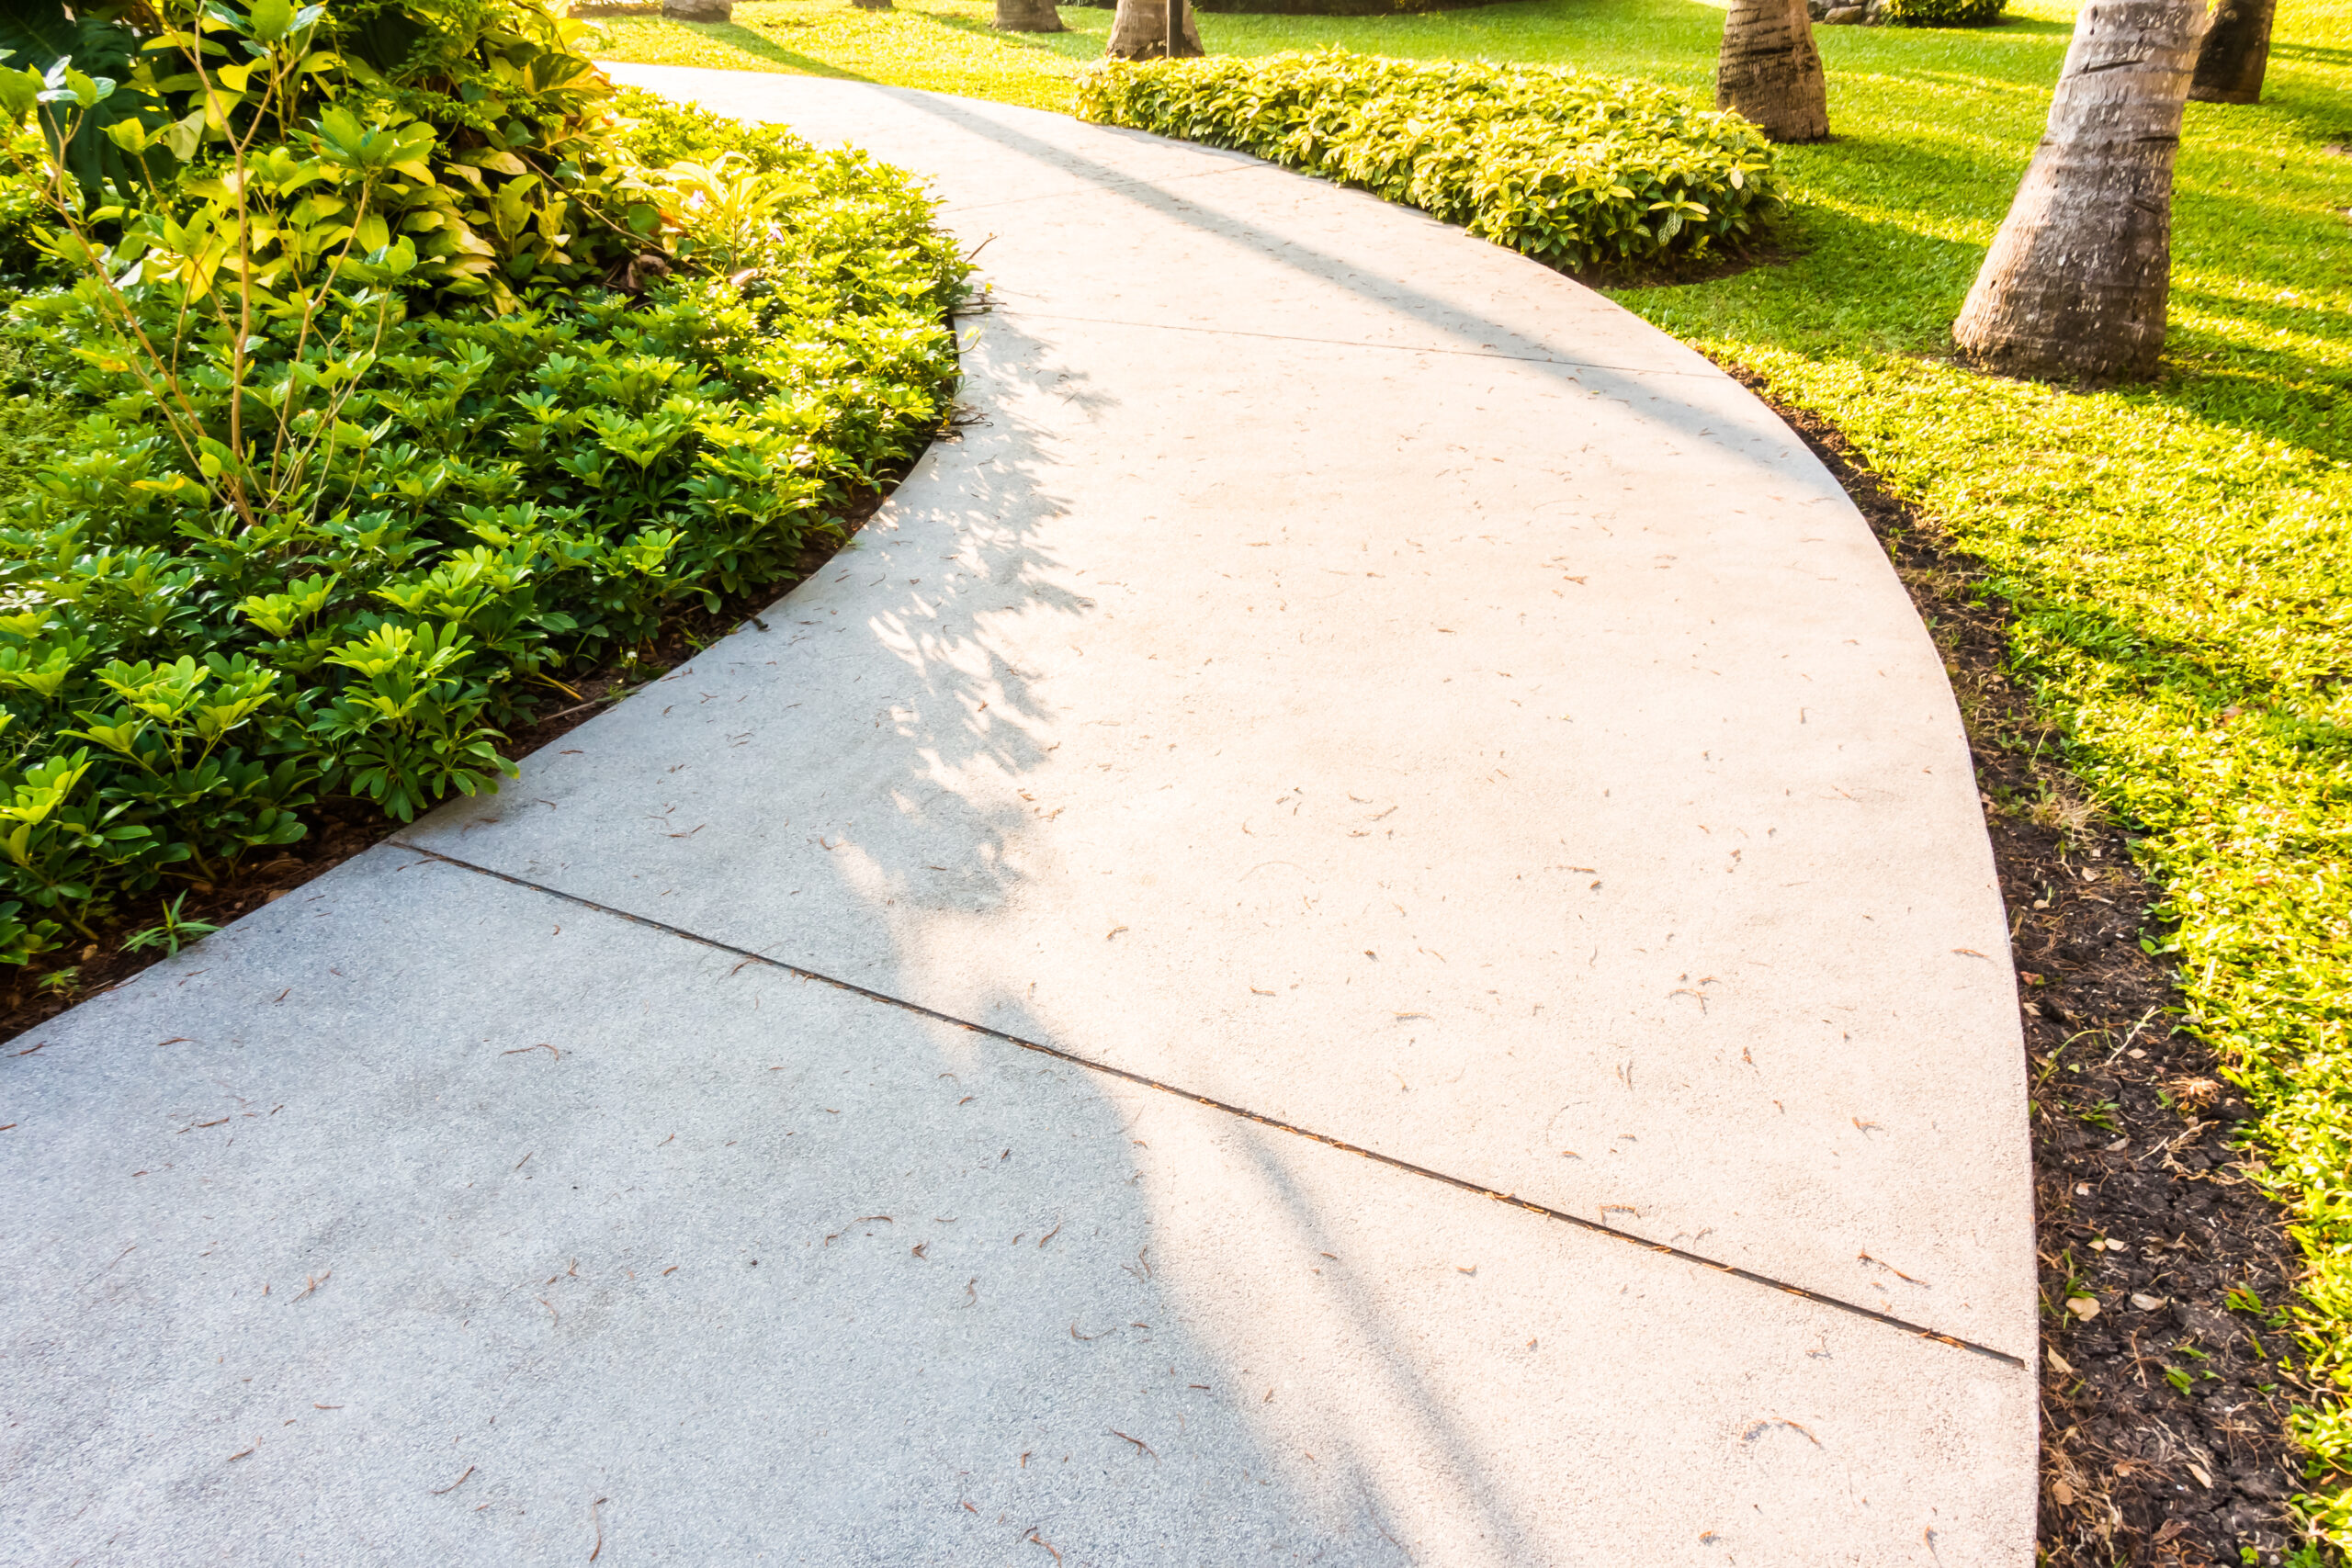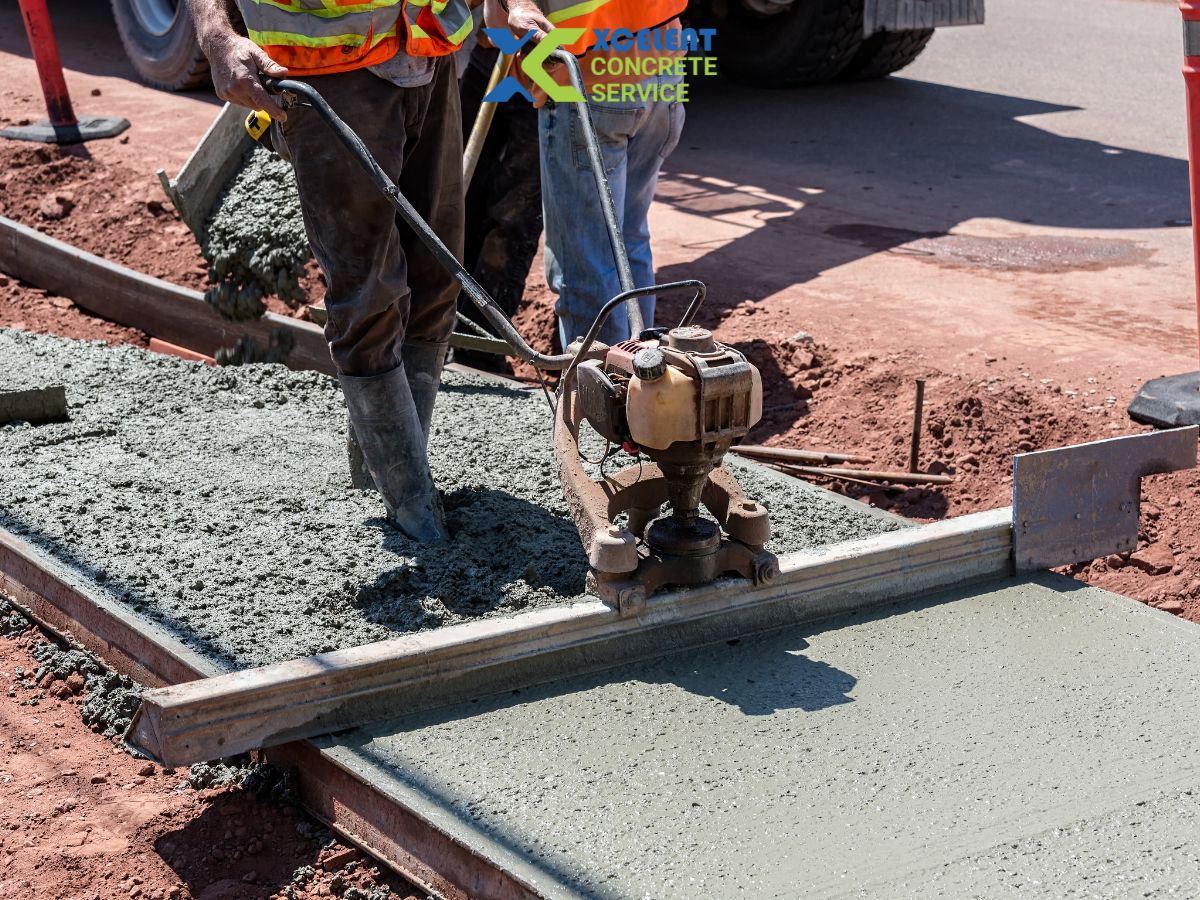
The process of pouring concrete on the sidewalk starts with laying the foundation, constructing good forms, pouring, and finishing the concrete to perfection. Despite seeming to be an easy job, each of these steps is crucial for creating a sidewalk that will be durable enough and won’t suffer from such problems as cracking and uneven settling. Having all the required knowledge and skills, even an inexperienced person will have no trouble creating his or her own sidewalk.
A good sidewalk made from concrete is among the most useful home improvements you can consider. It improves your property, making it accessible and appealing and providing a comfortable walkway around your house. However, people often fail in their attempts at pouring concrete themselves because of their ignorance about the process and its requirements. In order to help you avoid mistakes, this guide is here to explain everything you need to know about pouring a concrete sidewalk.
No matter what your reasons for wanting to pour a concrete sidewalk are, understanding some basic principles of doing this properly is crucial. You’ll learn how to do everything right and which situations call for hiring professionals.
Why a Proper Concrete Sidewalk Installation Matters
However, when installed correctly, the concrete sidewalk becomes much more than a walkway; it becomes an investment for decades to come. Poor installation may cause cracks, uneven surfaces, and high costs.
The strength of concrete can be deceptive since concrete is unforgiving. Any mistake made during the process will become evident in the following months. For this reason, professionals in concrete installation are meticulous about their groundwork and finishes.
Tools and Materials You’ll Need
Before starting your concrete sidewalk installation, gather everything to avoid interruptions:
- Wooden stakes and string
- Shovel and rake
- Gravel (base layer)
- Concrete mix
- Wheelbarrow or mixer
- Screed board
- Float and trowel
- Edger and groover
- Water hose
- Safety gloves and boots
Having the right tools ensures consistent results and reduces beginner mistakes.
Step 1: Plan and Outline the Sidewalk
Outline the path of your sidewalk using stakes and strings.
Importance of this step:
Proper planning ensures that there are no irregularities in width and curve. Additionally, this step maintains proper alignment and slope for water drainage purposes, ensuring long-term safety of your concrete.
Step 2: Excavate the Surface
Excavate the surface to depths of up to 6–8 inches.
Importance of this step:
Excavation creates room for both the gravel layer and the concrete layer.This step involves removing any vegetation, including grass and its roots, and leveling the surface.
Expert Recommendation:
When dealing with loose soil, compact it first before installing the gravel layer. Loose soil is the most common cause of cracking in sidewalks.
Step 3: Install the Gravel Layer and Compact it
Install gravel to depths of up to 3–4 inches and compact it.
Importance of this step:
The gravel layer acts as a water drainage system to prevent water accumulation between the layers.
Step 4: Constructing the Forms
Construct the forms around the sidewalk using wood planks held down by stakes.
Ensure that the forms are leveled with a spirit level
The forms must have a slight slant of about 1/4 inches per foot
Why is this important?
The forms serve as the mold for your concrete. When the forms are not aligned correctly, the whole sidewalk becomes skewed.
Step 5: Mixing Your Concrete
Mix your concrete to the right consistency – it should not be too wet or too dry.
Expert Tips from Real Experiences:
Novice workers use too much water while mixing their concrete because it is easy to pour. This practice is dangerous because excessive water causes weak concrete.
Step 6: Pouring Concrete
Pour concrete into the formwork from one end of the sidewalk to the other.
- Shovel to spread evenly
- Make sure to cover all the corners and edges as well
Significance:
Inconsistent pouring results in areas that are weaker than others. Consistency in this step will ensure that the sidewalk is uniformly strong.
Step 7: Screeding
The level of the poured concrete is achieved with a screed.It is pulled over the surface of the formwork.
Significance:
The process causes the surface to become smooth and eliminates the additional concrete. It prepares a foundation for any subsequent finishing.
Step 8: Floating Concrete
Immediately after screeding, floating is done. It smoothes the surface while bringing up fine particles.
Expert Advice:
Overworking the surface with this process may lead to dusting in the future.
Step 9: Add Control Joints
Control joints should be created at every 4-6 feet using a groover tool.
Why this matters:
During the process of curing, concrete naturally cracks. Control joints bend such cracks into straight, premeditated lines, eliminating haphazard damage.
Step 10: Edge and Finish
Round the edges with an edger, and with a trowel give them a final polish.
- Apply a traction finish, broom finish.
- Avoid making the surface too smooth
Real Experience Insight:
A rough surface is better though it is safe to a small extent, particularly in rainy weather. A lot of beginners do not take this into account and have slippery sidewalks.
Step 11: Properly cure the Concrete
One of the crucial stages in installing concrete sidewalks is ensuring proper curing.
- Remains wet on the surface 5-7 days.
- Use plastic sheeting or curing agents
The reason why this should be done is:
Concrete hardens gradually. Correct curing is a way of avoiding cracks in the future.
Most Common Errors to Avoid
Even easy tasks can turn out bad when done improperly:
- Failing to install the base layer correctly: Makes the base layer prone to cracking at an earlier time.
- Pouring in too much water: Reduces concrete’s hardness
- Failure to take the slope into account: Could cause accumulation of water.
- Failure to heal right: Causes harm to the surface.
When Should Concrete Contractors Call?
It is possible to use DIY solutions, although there are cases when it is necessary to resort to experts:
- Sidewalk designs that are complex or large.
- Unstable or uneven grounds.
- Stamping and other special finishes.
Contractors of concrete ensure efficiency, accuracy and dependability.
Final Thoughts
When properly installed, a concrete sidewalk is a satisfying project. Novices can obtain good and aesthetically pleasing results by paying attention to preparation, grasping the point behind every action, and not committing frequent errors.
Be patient, do one step at a time and do not hurry with the process of curing. A concrete pavement has a lifespan of many decades and requires little upkeep.
Need to construct a lasting, professional-appearing sidewalk? Relax, leave the work to Trust Xcelent Concrete Services.
FAQs
What thickness should the concrete sidewalk have?
The concrete sidewalk must be at least 4 inches thick, but 5-6 inches is desirable as more strength.
What is the time needed to install a concrete sidewalk?
The installation of concrete sidewalks normally requires between 1-3 days, and an additional 5-7 days of curing.
Would I install a concrete sidewalk myself or require concrete contractors?
There are little installations that you can do yourself, whereas professional concrete installers can ensure a higher result on bigger installations.
What can I do to keep myself off my concrete sidewalk?
Proper base preparation, control joints installation, proper water to concrete ratio, and proper curing will ensure that a concrete sidewalk does not crack.