If you live in a place that is without a garage, you are already familiar with the bit of discomfort of having to park on the street or endure the struggle of finding a parking spot nearby, especially during peak hours. Nobody should have to commute down the road to locate a parking spot, especially if they have space on their premises for a driveway, carport, or garage.
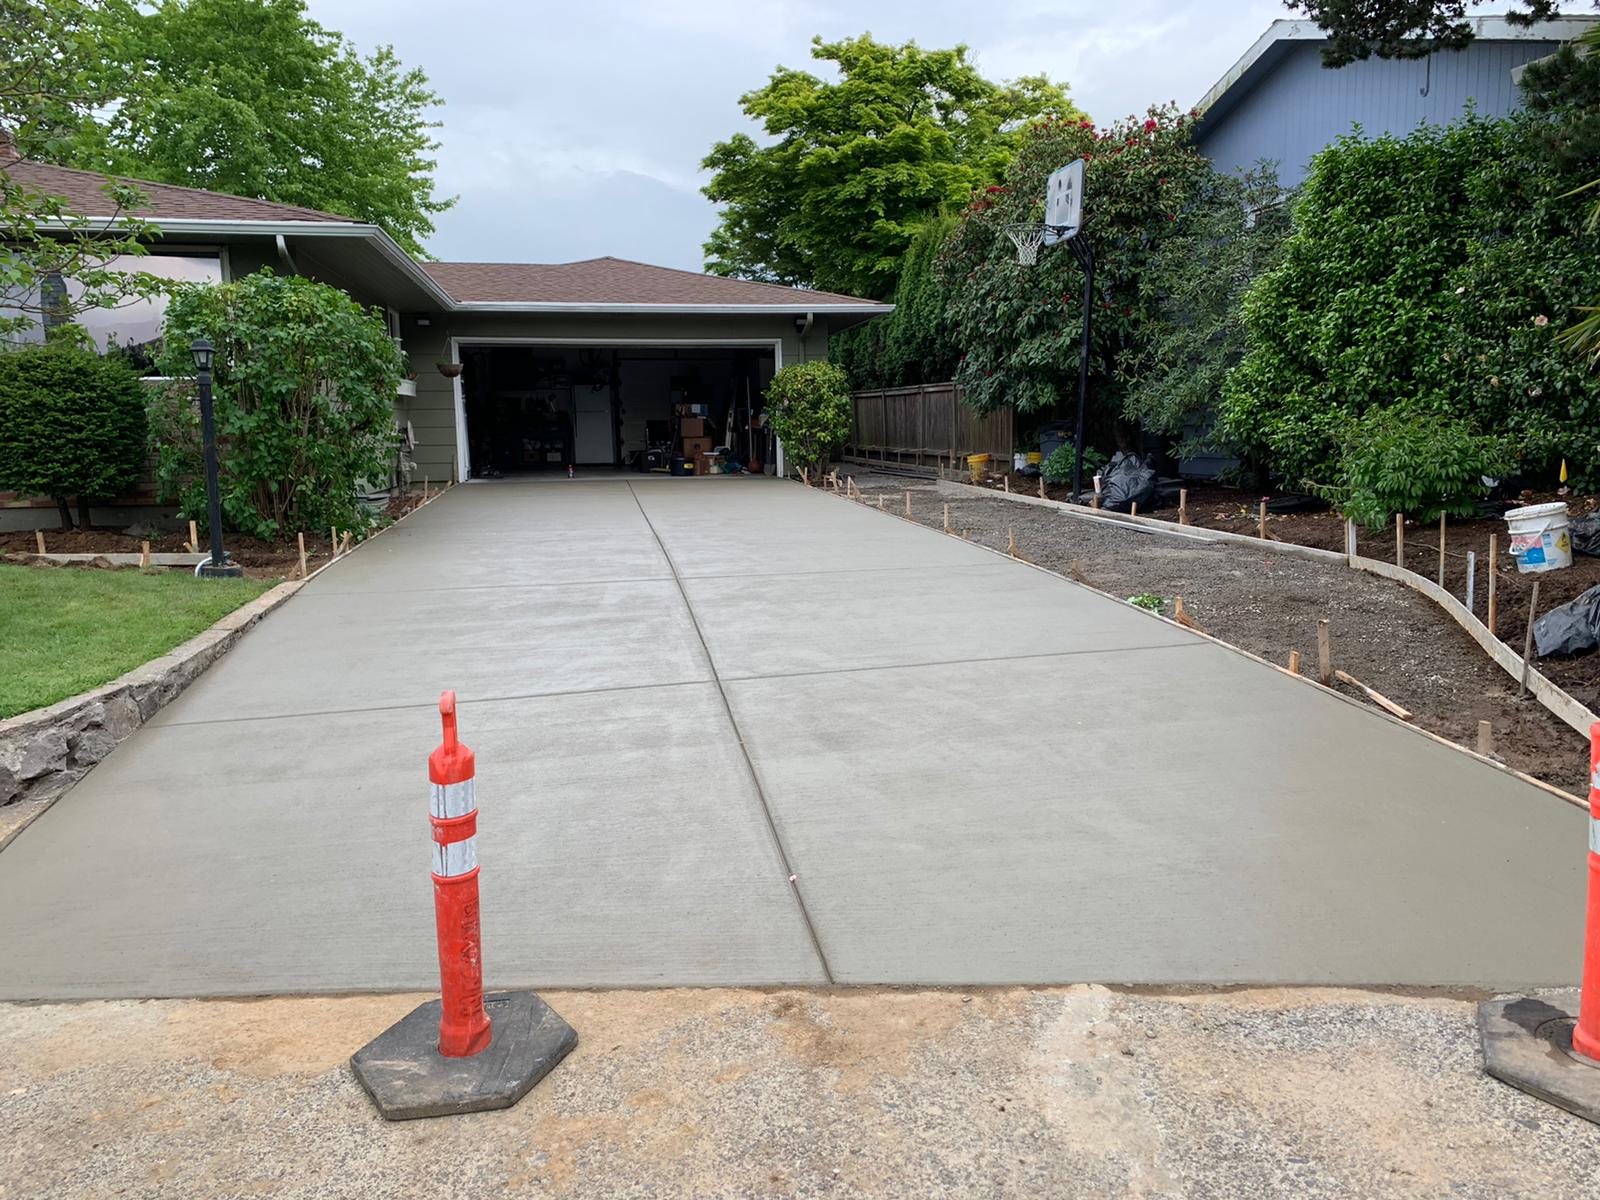
Carports and garages are lovely, but they are often expensive and might not be feasible for every property. The good news is that by constructing concrete driveways, you can still have a safe and secure park at a minimal cost. Simple cement driveways are durable, attractive, and cost a fraction of the price of garages and carports.

If you are thinking of building a concrete driveway, here are a few simple steps to initiate you into the process and help you get started.
Things You’ll Need to Build a Concrete Driveway
- Wheelbarrow
- Measuring Tape
- Shovel
- Hand Spade
- Compactor
- Site String Line
- Stakes
- Spirit Level
- Straight Edge Tool
- Hand Float
- Cement Trowel
- Edger
- Water Hose
- Groover
- Broom
Step 1 – Inspect for underground utilities.
Before you begin, it is imperative to locate and identify underground utility lines that could obstruct your excavation plans for concrete driveway repair or building by finding any short utility lines that pass through the building zone. If specific lines are impeding construction, you may be able to request the concerned authorities for re-positioning or move; The concerned government department can share more information on this.
Step 2 – Take a round around your property and get a sense of where your limits are.
Conduct research on your property, examine land drawings, determine your land boundaries, and mark the location of any underwater utility wires surrounding the project area with spray paint.
Step 3 – Illustrate the project scope and its boundaries.
To delineate the concrete driveway space, use wooden stakes and thread.
Step 4 – Level out the construction site and excavate the topsoil.
Unearth topsoil and smoothen out the worksite with a shovel or an excavator machine. Generally, it would help to dig roughly 250mm below ground level.
A dingo or small excavator would usually suffice for a home concrete driveway repair or building task. However, if you’re working on a bigger driveway project that requires more digging, a larger machine, such as a 5 to 7 tones track-mounted excavator, might be needed.
Step 5 – Stakes to anchor wooden builds around the project area.
The process entails erecting wooden setups around the construction zone so that concrete does not leak outside the site and is poured into the correct region. Check that your wooden builds are straight and securely fastened.
Step 6 – Add sand and gravel to firm up the soil and furnish solid ground.
Fill up the gaps with sand or gravel, and introduce a thin layer of gravel to ensure the base is thick. This should be anywhere from 2 – 4 inches deep, depending on the soil type.
Step 7 – Compacting soil and gravel
Use a small plate compactor to compact the project area, then moisten it again.
Step 8 – Use steel reinforcing mesh or bars to reinforce the structure.
Bolster the surface of your foundation with reinforcing mesh or rebar (grid pattern). This is a crucial step in securing your driveway.
Step 9 – Pour in concrete
Pour concrete over the driveway formations and properly distribute it over the project area. Based on the extent of the project, this stage can be completed with a skid steer using the front bucket, a tractor, or a wheelbarrow.
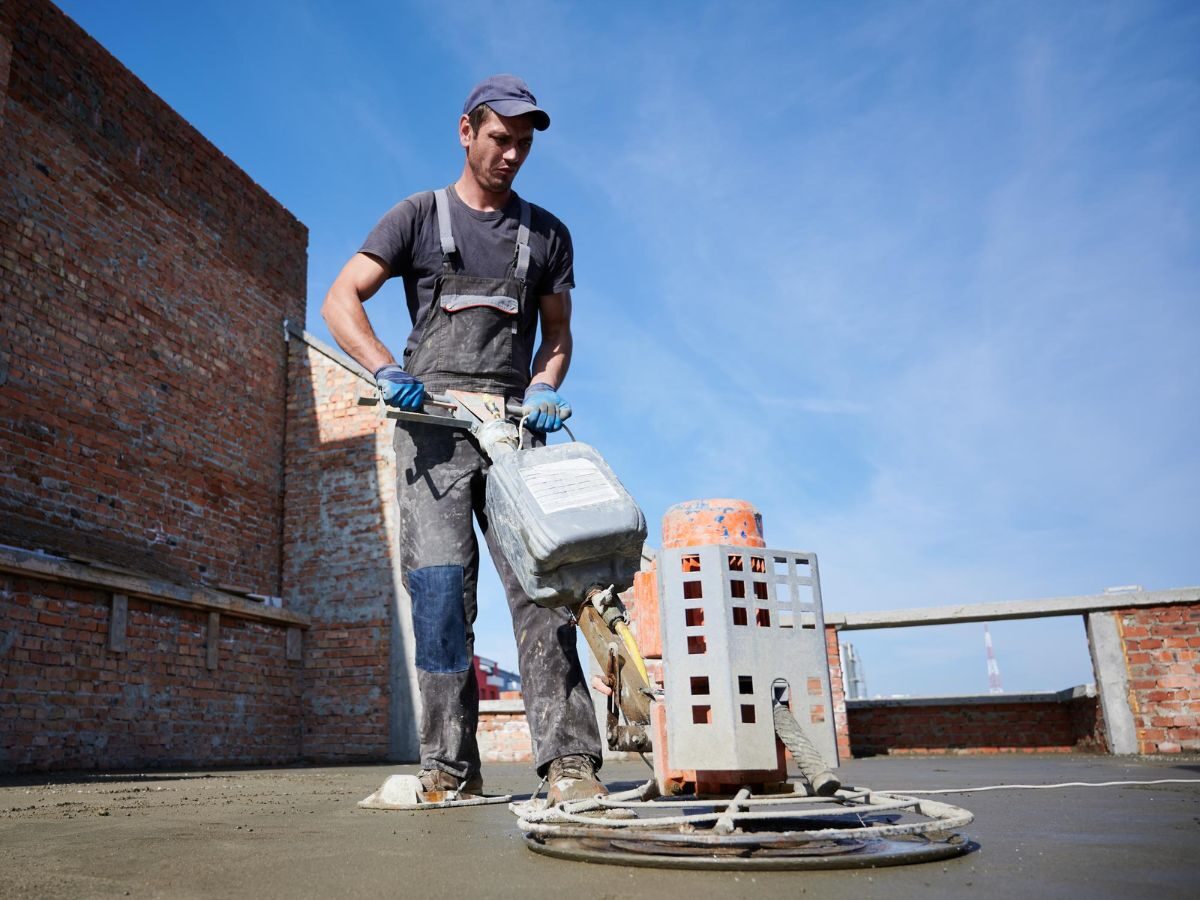
Step 10 – Smoothen, level, and polish the concrete
Smooth and level the concrete with a trowel and leveler. Using a groover, create straight furrows throughout the concrete driveway, which will help avoid cracks.
You can even polish the concrete with a broom, which will create greater non-slip traction- ideal for excessively damp conditions. A broom finish is, in fact, professionally recommended to keep your driveway from being too slick when it rains.
Step 11 – Set and cure concrete
The concrete ought to be cured either with a specific sealer or by watering the site every day for at least a few days after it has been set.
It is a crucial procedure that causes the concrete to harden and gain strength. Inadequate curing might result in weak cement that degrades and breaks down faster. The time it takes for concrete to cure might vary from case to case, but it usually takes a few days to set and 1 to 3.5 weeks to cure completely (to full strength). All in all, the curing process should not be rushed!
Step 12 – It’s time to park your automobile in the garage!
Congratulations! It’s been more than a week since you started curing your concrete driveway, and you can now utilize it as a safe park!


Great content! Keep up the good work!