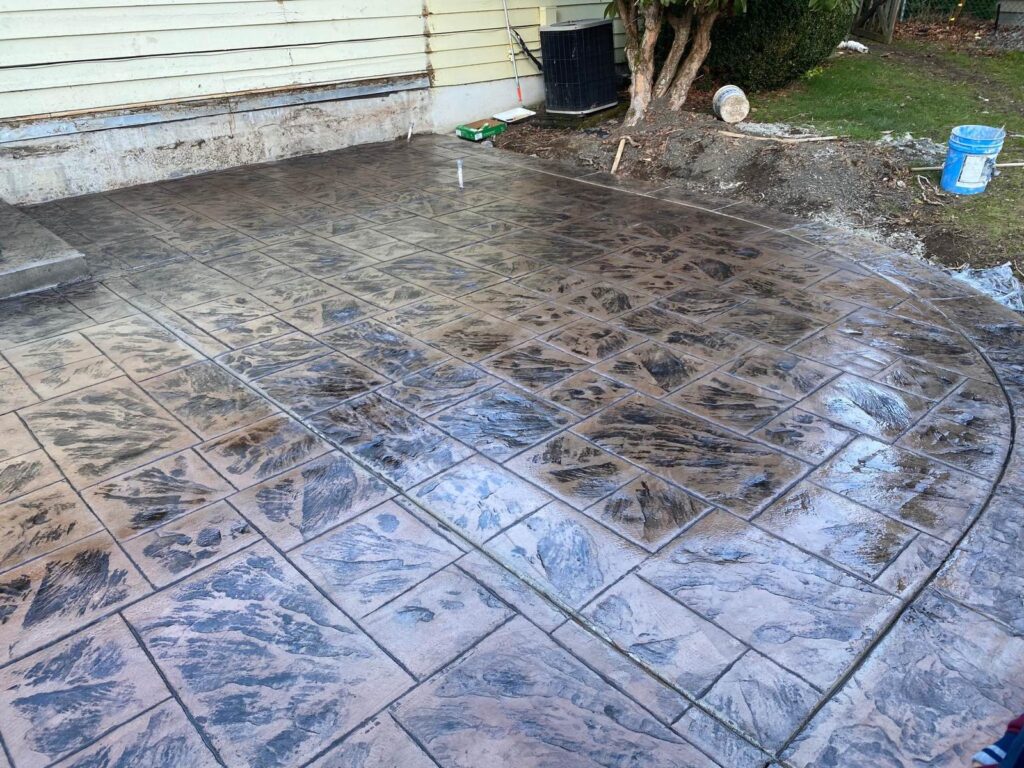
Stains, cracks, and chips can frequently appear on concrete steps over time, especially in the treading areas that experience the most foot traffic. Get concrete steps repaired as soon as possible to prevent further damage from becoming unsafe and unattractive. You can be confident that you can fix concrete steps on your own after following this concrete step repair guide’s step-by-step instructions.
Clean the Surface
Cleaning the concrete is essential, regardless of how you do it. Cleaning is necessary for the long-term longevity of the concrete, whether that is pressure washing it and letting it dry or removing all the dust and debris with a stiff brush. At this time, undercutting the cement’s edges would also be highly beneficial. Additionally, this will provide the new concrete mixture with something more to bind with, making the concrete stronger. Use a chisel and a hammer to accomplish this. When you’re done with this process, all debris and loose cement should be gone.
Add screws and bonding adhesive
After that, carefully put screws into the old concrete using a hammer drill. Drill the screws, so their heads are only 1/4 to 1/2 inch below the level of your envisioned new concrete step. This will enable the screws to join your new concrete with the previous pour.
Use a paintbrush to pour concrete bonding adhesive to the previous concrete’s surface. Apply it generously; it can be either thin or thick; nevertheless, the stronger the bond will be, the thicker it is. It must dry for a few hours before becoming sticky.
Form Construction
This could be either challenging or easy, depending on the size and corners of your step. A straightforward plywood frame pressed against the old step will serve as the right edge and work if you are only repairing a short section. In either case, use forms to create all the appropriate edges and bind them with something substantial.
Mixing of the cement
Determine the amount of cement powder required, add the water, and blend until the mixture reaches the desired consistency. It should have the consistency of thick oatmeal, not too soupy and not too stiff. You can use several cement combinations, such as quick-setting cement that hardens quickly, tinted cement, and low-heat cement. Mix it to the correct consistency and duration, regardless of the method you choose.
Put cement on the steps
Start applying the concrete mixture to the crack or damaged step with a trowel. Applying wet cement requires pressure to work it into the cracks and corners of the previous cement. You need to even out the top using a trowel.
Make the edges smooth.
Use a leveling tool to make the step smooth and level on both the top and side. If the concrete is quick-setting, the final stage must be completed rapidly to guarantee that it dries with the appropriate level of smoothness.
Conserve Moisture by watering the steps
Concrete must keep Moisture when drying or curing to avoid future cracking and chipping. An issue arises when new concrete is attached to older concrete unsatisfactorily because it dries too quickly and becomes flaky. The concrete can now be smoothed with a moist sponge once you’ve finished shaping it and rounding the edges. Additionally, helping it cure will add water to the top. Further, this will help it cure by adding water to the top.
Conclusion
We’ve discussed concrete step repair steps in this guide that will allow you to fix your broken or damaged steps. Considering each step, you can ascertain the longevity of your repaired steps. However, if the damage is too much to be fixed, consider hiring professionals immediately!