A well-kept driveway will add not only beauty to your home’s view but also durability for years to come. As time progresses, even the most robust concrete driveways can develop sure signs, such as cracks, surface wear, and other developing issues, caused by factors like weather conditions and heavy usage. These problems can be resolved on time to save one from the more significant expense of a complete concrete driveway replacement. Below, we outline five critical steps that should be followed for proper concrete driveway repair, which would thus help you reinstate its serviceability and aesthetic appeal.
Step 1: Establish the Extent of Damage
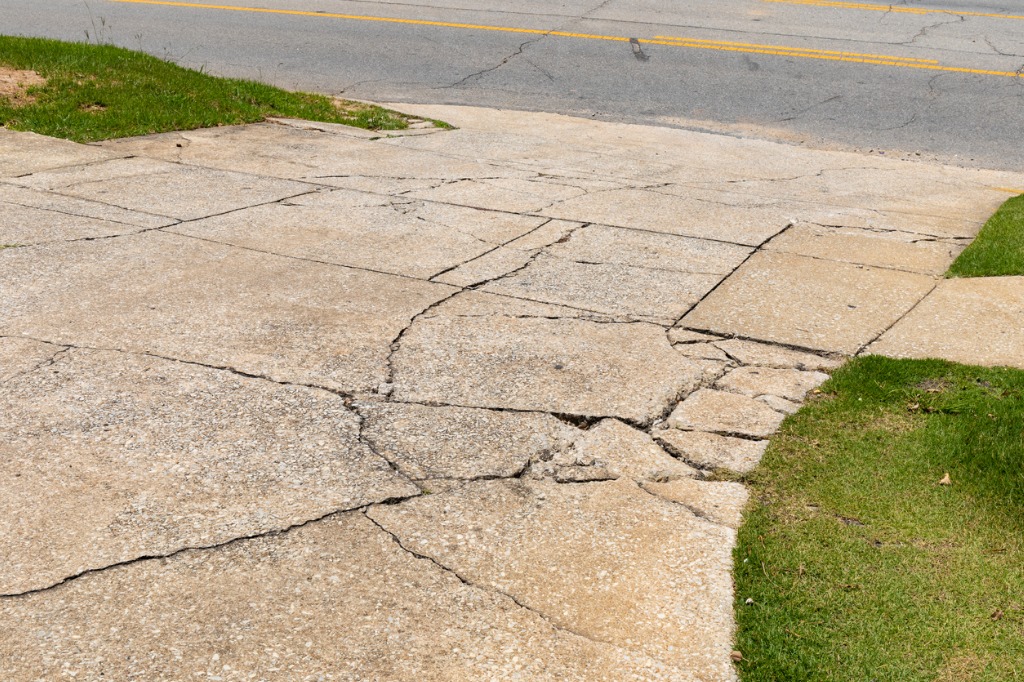
Confirming whether this is only a hairline crack or the concrete is starting to crumble should be made in great detail before proceeding with the repair work. Knowing the severity of the problem already allows one’s self to ascertain. Whether an ordinary patch may solve the problem or the job may call for total repair or, what’s worse, replacement.
- Small cracks may be okay: When it comes to small cracks, sometimes surface repairs may just be enough. But if you observe deep cracks, sinking, or large areas of spalling, you will need professional advice from a concrete driveway company.
- Severe damage: If the damage is quite severe and covers a relatively large area, replacement of your concrete driveway may be the best option. The driveway specialists will analyze whether partial or complete reinstallation is warranted.
2. Preparation of Repair Area
As it is said, preparation is half done. First of all, clean the place where the crack is located. Get all the debris or dirt and remove the upsetting sealant that was used before, if any. Pressure washing, if needed, or wire brushing could work wonders in the cleaning process. A clean area ensures that the new repair materials bond perfectly to the old concrete. Concrete driveway installation process is different from it.
For cracks or holes, a widening of the base has to be done using a chisel. This process, called undercutting, ensures the material to be used in repairing sticks to the edges is more robust and prevents further cracks.
Then, apply a bonding agent. This is crucial—especially when dealing with concrete with some maturity—because it will ensure that the repair material will have a good bond with the original surface.
3. Selection of Suitable Repair Material
The other half of your job is choosing the suitable repair material. The selection of the material will mainly depend upon the extent of damage and the type, whether small or large.
- Small cracks and surface damage: A concrete resurfacer or crack filler will serve you well. Both of them are meant to form bonds with other concrete. These are what you will be doing over the places in cases of crack or hole filling. They are applied using a trowel or putty knife.
- For wider cracks or holes : Use a concrete patching compound sometimes and an epoxy-based filler. Such materials are much more adhesive and may reach much deeper or broader widths.
- For Large Structural Damage: If the pavement has settled or shows significant deterioration, it’s likely that your repair job will need to seek assistance from a professional concrete contractor in Portland. They’ll decide whether an entirely new driveway is in order or if you’re better off using unique stabilizing materials, like polyurethane foam.
4. Apply the Repair Material
When the proper repair material is determined, it is finally applied over the affected area. The application is to be carried out in a well-planned and appropriate manner under the principles determined by the manufacturer.
Crack Repairs: Fill the crack with the selected material, slightly over-filling it because it is bound to settle. Smoothen the applied material with the help of a trowel and remove the excess amount of the material.
For resurfacing, apply the resurfacer over the top of the concrete and strike it off to the desired level using a squeegee or trowel in wide, fan-shaped strokes. Work the resurfacer into the surface very rapidly in application to ensure a smooth and even surface before the material begins to set.
For deep hole repairs, the hole shall be filled entirely with the patching compound in well-dried layers. This would ensure that the material fills the hole without sagging or shrinking until set.
After application of the repair material, allow it to cure according to the manufacturer’s recommendations. Good curing is of great importance for the durability and long life of the repair.
5. Seal and Protect the Driveway
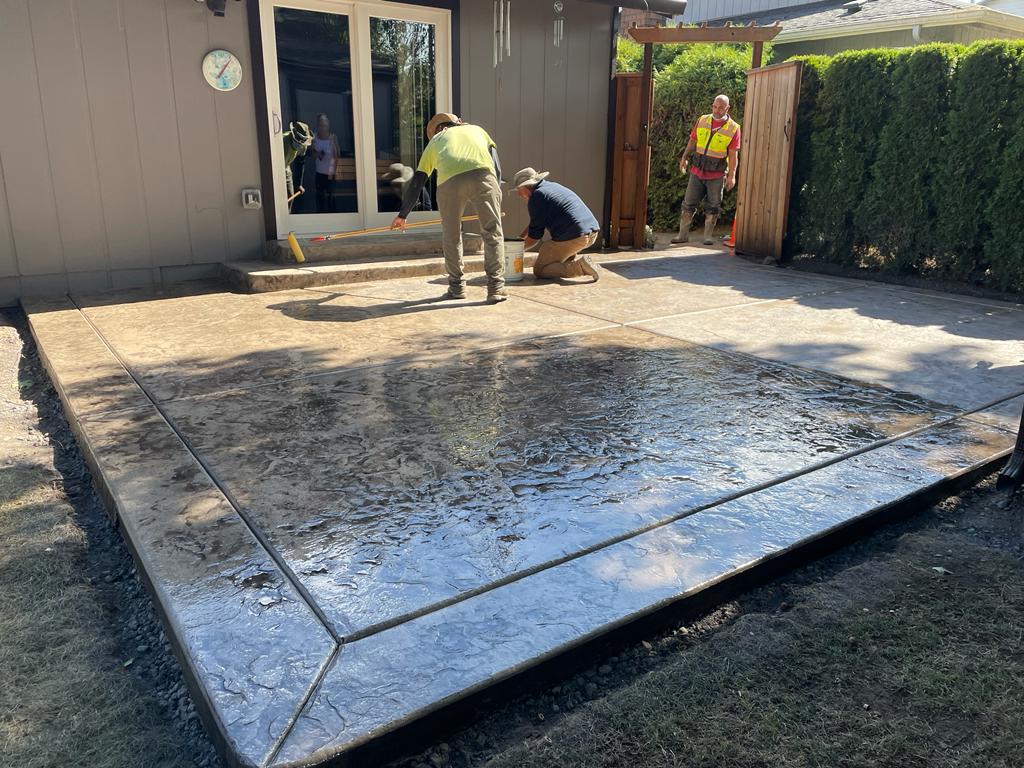
Sealing the repaired section of the concrete driveway is the final activity. Sealing serves the purpose of protecting the concrete against further damage by possible moisture, chemicals, and temperature. It also gives a uniform finish to the concrete driveway.
- Choose the suitable sealer: Depending on specific needs, choose a penetrating sealer for deep protection or a topical sealer for surface-level protection. A concrete driveway specialist can suggest the best sealer with respect to these variables and what will be parked and driven on it.
- Apply the sealer: It can be applied evenly onto the surface either by a roller or by a sprayer. Most importantly, consider drying time and number of coats to use. Which are generally included in the instructions on the manufacturer’s side.
- Routine Care: Re-sealing every two to three years will extend the life of your driveway. Clean the driveway routinely, and see to it that any new cracks or damage are taken care of as soon as possible.
Final Words
With these five easy steps, you can manage to repair and maintain your driveway for much longer than usual. For complete repair and replacement, you should get in touch with a concrete contractor in Portland.


