It’s not as difficult as you would imagine constructing concrete sidewalks. Creating and setting up the forms is a breeze. To complete your concrete well, you must have some artistic ability.

- Start with a sidewalk plan:
You can either have a straight sidewalk or a curved one. If you’re planning to install a ramp, for example, prepare ahead of time.
- Make a plan for the space:
Start and finish points should be marked along with the arrangement of your walkway.
3. Call dig-safe (811):
A surprising number of utilities are located at a depth of fewer than four inches (10.2 cm).
- Create a starting and ending point for your sidewalk by establishing a finish grade:
The use of a string line and a line level is adequate for the majority of sidewalks.
- Begin the excavating process:
Dig 5–7 inches (12.7–17.8 cm) below your specified finish grade to get to your sub-grade.
- Lay out the pavement:
Create your sidewalk from a material that is both stiff and flexible. Because of its flexibility, 1/2″ to 3/4″ thick plywood is ideal. Cut plywood to a width of 4 inches. Set a goal for your grade at the end of the semester.
7. The string must serve as a guide for the form as well:
Afterward, affix the form’s face to the nail or timber using the string as a guide. The form’s upper edge should be just a hair below the string’s center.
8. Excavation should be finely graded:
To level the ground, use a straight blade rake. If possible, use a hand tamper or a motorized compactor to compact the soil following fine grading.
9. Apply it at the right temperature:
The concrete should be placed at a temperature between 50°F and 90°F. A thermometer is all that is needed to verify this.
Make sure to ask for an air-entrainment ingredient if you buy ready-mix concrete. Between 4% and 8% of the air should be entrained. As a result, your concrete will be more resistant to the cold.
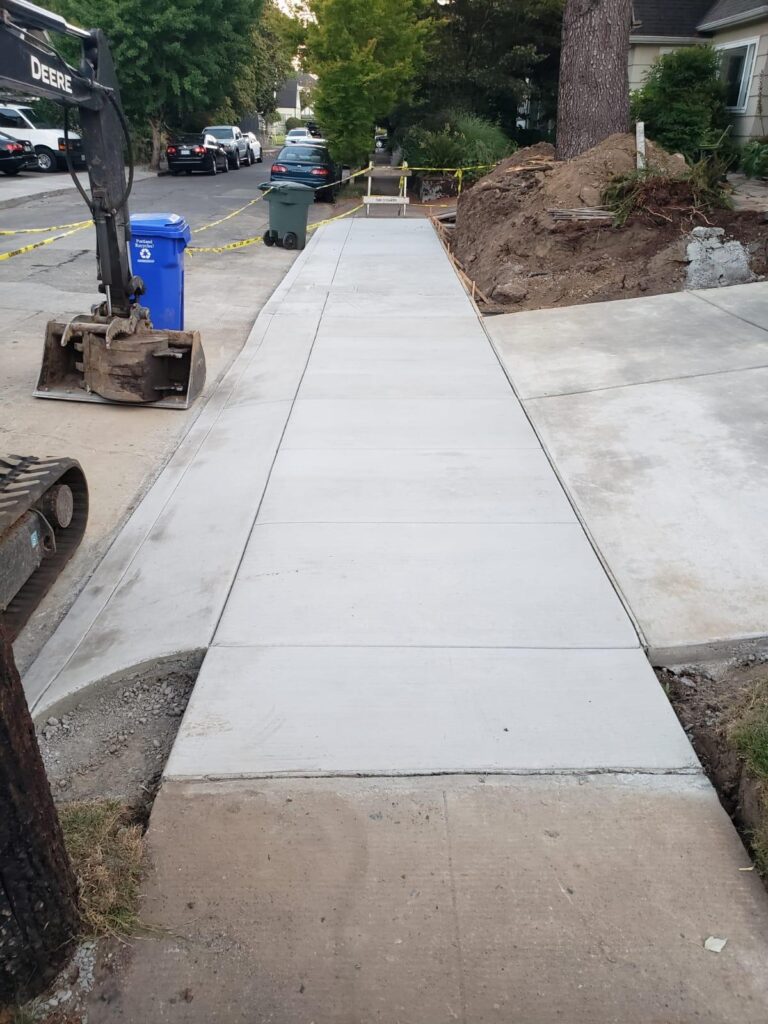
10. Pour the concrete to your finish grade:
As you remove excess concrete and level the surface, use a screed (Straight edge). Move the screed along with the form while slapping it back and forth with a sliding motion.
11. Roll the concrete:
As a result, the amount of finishing cream needed in the mixture rises while the aggregate is reduced.
12. The concrete should be bull floated:
When you’re done with the float, could you bring it back to you? The more slowly you do this, the better it is. You can cut your edges and joints using an edger and a central joint.
13. Keep the outside edges of the tools level with the concrete as you push them through:
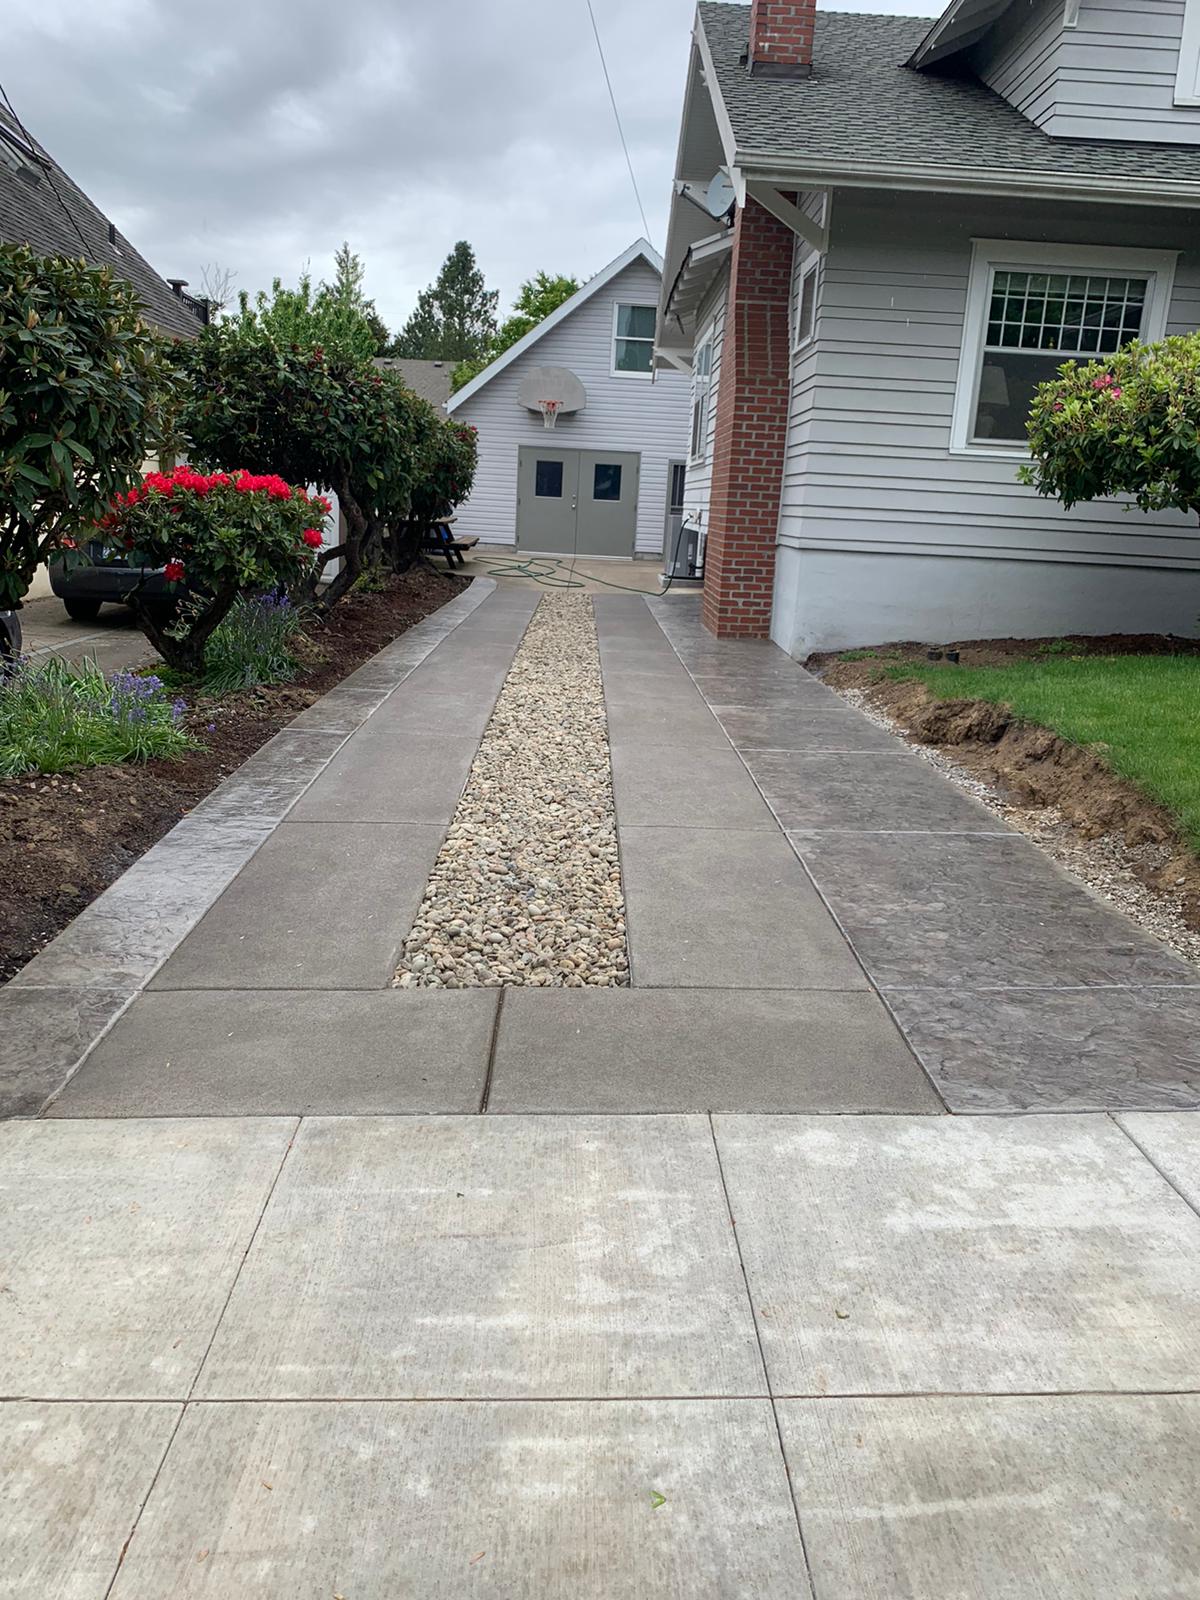
Concrete is prone to fracturing in regular squares. Make sure your walkway has score marks or artificial joints. The distance between them should be the same as the length.
14. Every 25 feet on your sidewalk, apply a fiberboard expansion material to your concrete:
Allow the concrete to fully cure before attempting to brush and finish it (magnesium float). Brush the surface softly with a horsehair brush to ensure the stride marks are parallel to your body.
Conclusion:
When making concrete sidewalks, the first step is to remove selected areas of the ground and mark where the new concrete will be placed with forms. The extent to be poured is dug up to create a way for the sidewalk. It then pours in and molds itself to its final shape with an even concrete distribution.